Project: Turning a zombie into a mutant aquatic creature, Part 2, the creation of a new skin

I’ve had more ideas about how to proceed from the previous session than I can ever conceivably pull off, and what I ended up with wasn’t actually on my list anywhere. It just sort of happened.

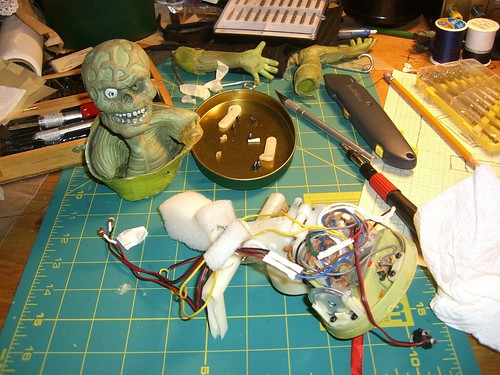
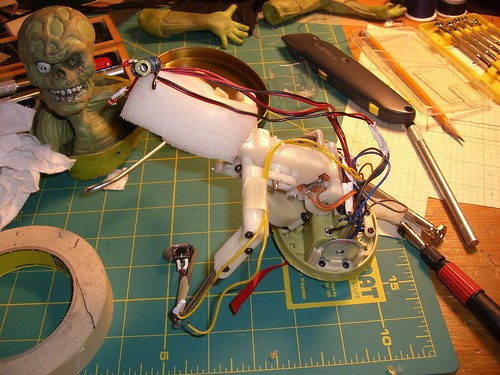
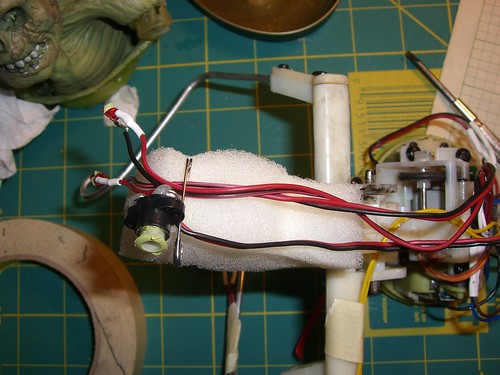
I started off by wrapping the body of the toy with some wadded up trace paper, to protect the wires and components, and to fill out the body so it didn’t look weird when I put a new skin over it.


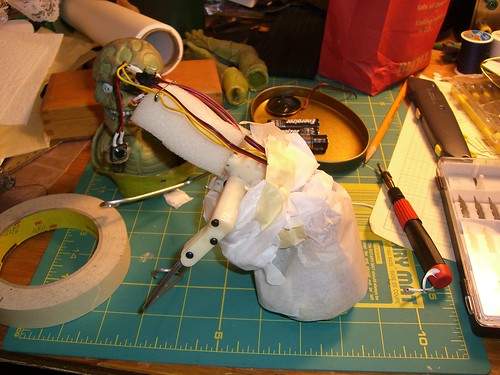
I have a bunch of cheap tube socks lying around, for use in other projects, and I used several socks stuffed inside another sock to start forming a long, fish-like body. The open end of the stuffed sock easily stretched over the base of the plastic toy. Then I cut some scrap denim (read: old jeans with a ripped seat and paint all over them) into a more-or-less eel-like shape, fit it over the sock, and started basting it together.


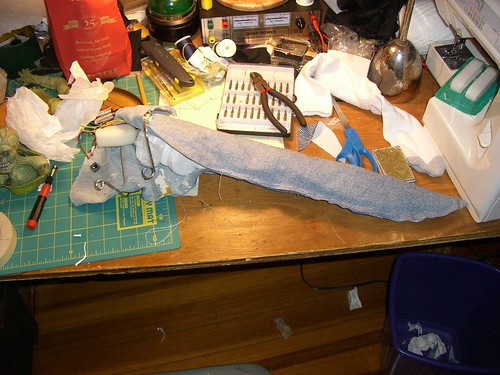
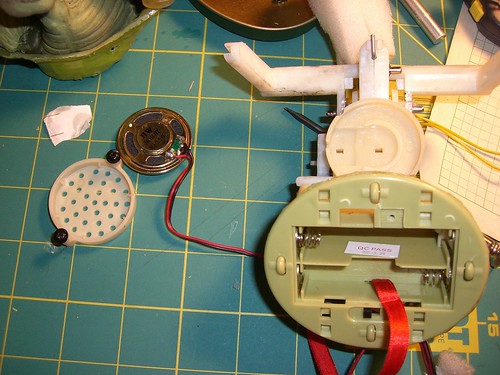
I left a gap in the belly so I can replace the batteries; this will need a better solution in the final model.

When I got to the head, I wrapped more trace paper over the existing wire and foam head, and then played around with how to wrap the denim around to make an appropriate fishy face.

I did not exactly end up with your typical fishy face.


What happened was, as I was playing around with all the excess denim in the head area, some of it flopped forward into a long thin snout, which I kind of liked. And then I thought I could cut it into multiple strips, like tentacles. And then I tried forming a normal sort of fish head again. But the tentacle idea wouldn’t leave me alone.

So, tentacles.

Really pretty cute, no?


I think I’ll name him Pork Chop.

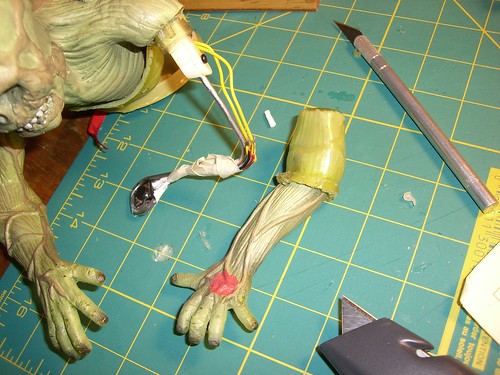
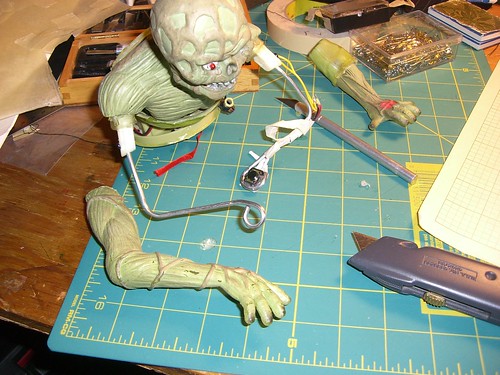
Next up is figuring out what the arms er flippers er tentacles er appendages are going to look like.


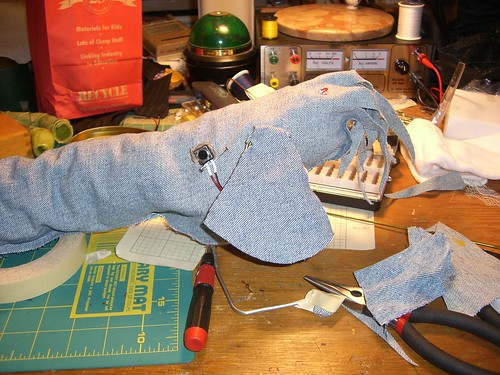
I like the fins; they go well with the overall fish-shape.

But I’ve also tested out some more arm-like appendages, and I think that’s where I’m eventually going. They look a little better scrabbling against the floor than the fins do.

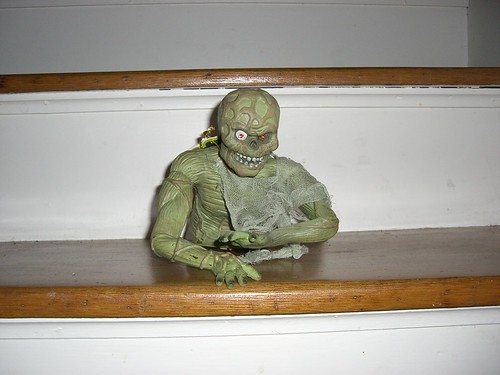
Speaking of scrabbling, poor Pork Chop can’t really pull himself along the floor the way Dead Ed could. Too much weight, or drag, or something.

I am now in possession of materials for covering the squid-eel, including some lovely pearlescent paper (kind of plasticized paper), and thin foam for the tentacles.

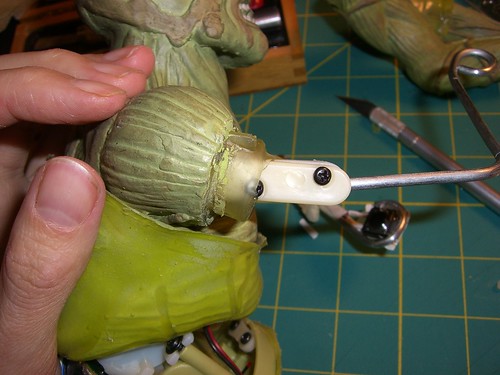
I still need to replace the switch with one that is magnetically activated, and build/buy/trash-pick some sort of cage.

Share

Project: Turning a zombie into a mutant aquatic creature, Part 1, the skinning

So Willoughby & Baltic is going to put together an interactive Halloween show at the Charles River Museum of Industry.

It’ll be in three parts, and the third part, the part that appeals the most to me, is a series of interactive “exhibits” of weird aquatic creatures that have been captured or created or something by a mad scientist, in approximately 1910.

I’d been thinking about getting some plastic creatures – fish, lobsters, reptiles – and hacking them apart and gluing them back together in ways Nature never intended, and then figuring out a way to animate them [It’s ALIVE!!!].

And then I walked into the Walgreens near work, and found Ed.


Dead Ed, the Crawling Zombie.

When the switch in his hand is pressed (or, if he’s set to react to noise/motion, when the noise/motion sensors are tripped), his red LED eyes light up, he moans and groans and says things like “I can only crawl after ya so fast!,” and his arms start moving at a frantic pace, gradually pulling his legless body across the floor.

You can see the potential.

It took me a day or two to decide I really wanted to acquire one of these, because none of them in the store actually worked, and while it might have been due to dead batteries, maybe it wasn’t. Well, it wasn’t.

I tried Dead Ed out on the kitchen floor, with Claude perched inside my collar. In retrospect, that might not have been the most brilliant move on my part, but Claude is rarely inclined to giving me harsh warning bites when something frightens him. Instead, he kind of puffed himself up and growled and muttered while Dead Ed skittered around the floor and groaned about not being able to feel his legs.

When I offered my finger to Claude, suggesting that he go hang out on the floor and take a closer look, he refused utterly.

Later, after the birds were tucked into bed, I took Dead Ed up to my work space and got out a utility knife, to get to the business of figuring out what sort of mechanism and structure I really had to work with under that rubbery green skin.

I used a utility knife to cut around the base of the skin, thinking I could just roll it up over itself and remove it that way. During that process, I realized that the motion sensor was glued into the skin, so I had to cut around that, too.


It was fairly tricky to actually fold the skin back on itself, and I realized it would not be possible to pull it up over the shoulders. Unless I removed the arms, first.

So I cut the arms off at the seam – well, I should I say I pulled them apart at the seam, as the glue holding them on was quite weak. It was fairly easy to pull the arm skin off of the armature, which was nothing more than some stiff wire, bent into an arm shape (oooh! And bendable into other configurations!).


The left arm contained the wiring for the switch; the right arm was just a piece of wire.

Not so scary-looking now, are you.

I still had to remove the arms, which turned out to be fairly simple. Each arm (the stiff wire) was held in place by a piece of plastic that was screwed into the shoulder. Once the plastic cover was removed, the arm could be pulled free.


Note use of lid of sewing box to keep small screws and things from rolling away.


Once the arms were removed, the skin of the body was much easier to remove. It was also greasier inside than I expected.


Mmm, zombie grease.

It turns out that Ed’s head was just a small block of foam with some wire inside it.

That’s right, there were no brains.

The last step was to remove the LED eyes. They were glued in place, but some firm pressure was all that I needed to pop them out, and then the entire structure and mechanism was free of the skin.


There are a lot of wires and electronic bits, protected by a thin plastic shell.


The wires are easier to see without the cover. I need to remember to replace that before I put the new skin on. Whatever that is. I haven’t quite figured it out yet.


The speaker I will be disabling. Probably by careful use of a pair of diagonal pliers to the wires.


Tired of taking things apart (well, fearful, really, that any further disassembly would lead me to a state from which I could not return), I reassembled Ed, leaving the skin off.


I used a safety pin to hold the LEDs and the motion/light sensor safely on top of the head.


And here he is, in action, Dead Ed the Skinless Crawling Zombie.

What’s next? Well, I need to cut the speaker wires and create a new skin for this beastie. I have some stretchy snake-print fabric, and lots of random scraps of other potentially useful stuff.

I may also take a trip to the nearest cheap toy store and find something appropriate to cut up and attach to the existing armature.

Share

What’s been keeping me busy

Work has been fairly busy, but mostly it’s been this.

Well, not the website, the spaces that the website talks about.

I’ve been helping get the spaces ready for use; painting and cleaning and moving furniture and lots of meetings. So there have gone many of my evenings and weekends for the last 2-3 weeks.

But tonight we’re having an Open Hack session, and tomorrow (because it is the first Friday of the month) is an Open House, which hopefully will have some non-members at it who will love it and become members.

We still have a lot of work to do, especially in the large fabrication space, and there are various smaller tasks left in the Hackerspace and the Model Shop, but those two spaces are ready for use, now that they are all cleaned and painted and organized.

I’m really excited. Not so much about the Hackerspace (though it looks GREAT), because my knowledge of electronics is next to nothing, but the Model Shop. (And when it is ready, the Fab shop.) I’ve missed the shop I had access to at school, and while this isn’t quite as well equipped – yet! – it is pretty close, plus there are tools we did NOT have at school, which I am especially keen to learn about and start using.

Share