So I finally started playing with the titanium wire I ordered recently.
It is very lovely stuff – matte metallics colors (it is anodized), and a soft surface unlike any other metal (probably from the anodization).
It is also, as the website said, difficult to work with. I cannot put sharp bends in it; it will break. Right away. It work hardens FAST. And, like the website said, its temper is similar to spring steel, so I have to bend it well past where I want it to be in order for it to stay where I want it. It is also very light; holding one of the small coils, I had a hard time believing I was holding a metal (well, maybe aluminum).
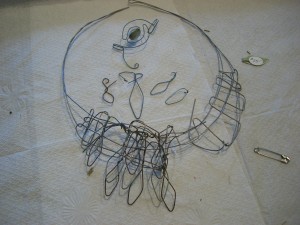
I don’t feel like I’ve got a good handle on how to use it yet; perhaps if I made the entire necklace from the same color? (The test piece is stainless steel for the support structure, and two different colors of titanium for the layered leaves.)
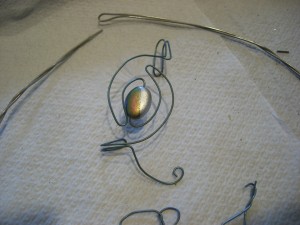
I do like how the colors of some of the wires work with the rainbow hues on my grey glass beads:
In other exciting materials and supplies news, I made it to Swapfest, and got:
– 2 exceptionally lovely bearings
– 1 mystery object that might have come out of an old textile mill
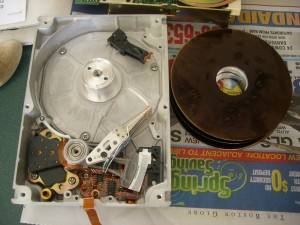
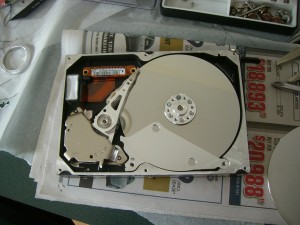
– 2 hard drives with platters held in place with screws and not the mysterious unremovable mechanism some of my other junk drives have, not that I’m still bitter about that
– 1 box of random metal junk, which cost me $1, and was worth at least $2 in entertainment value
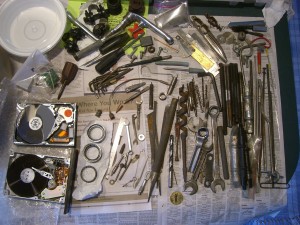
Everything from the box of random junk, laid out nicely. (plus hard drives and bearings from other sellers)
There are some small wrenches in that pile of stuff. And by “small” I mean “about the length of my finger THEY ARE ADORABLE.” Most of the weight of that box is made up by things that I think are bike parts. I don’t need them, but lugging them around was a reasonable payment for the small wrenches and other random small metal objects that I am going to clean and keep and eventually incorporate into . . . something.
There was also a piece of lead, in sheet form, in the box, which is now safely contained in a plastic bag. I don’t need a piece of lead sheet metal running around loose and contaminating the place.
The disk drives were also entertaining. One has unusually dark platters; the other had some fantastic machined pieces of metal separating its platters.
Later, I discovered that if you hold a platter up so you can see your face in it, you can get some really odd effects if you move the platter around while looking at the reflection, because you will also see two blurry circles of the background at the same time. If you close one eye, you will only get one blurry circle, which leads to fun things like moving the platter so that the circle (the hole in the center of the platter) is where the reflection of your eye should be. It’s like being inside a Magritte, only instead of having an apple for a head, you have a potted plant for an eye.
It is very difficult to get good photographs of this.
Um.
Anyway.
I’ve also (finally) got two tiny book pendants put on cords and ready to photograph and eventually list on Etsy. I’m seriously considering opening up another online store on another site, but there are SO MANY other sites that I’m feeling a bit overwhelmed with trying to choose.
Oh and I decoupaged the mannequin! At least partially. I didn’t think it was necessary to decoupage the entire thing, since I won’t be photographing the whole mannequin, just the portions necessary to show up jewelry. So she looks like she’s wearing a very stylish sort of crop-top, since the decoupage, which has uneven edges, stops somewhere above her navel.

