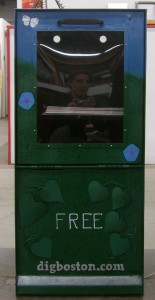
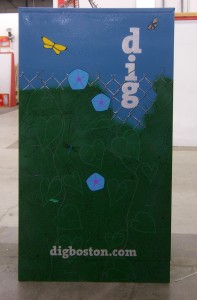
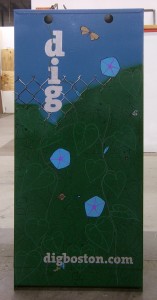
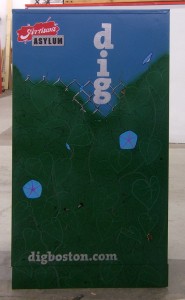
After much trial and tribulation, it is done.
The last week of the project, I ran into some unexpected problems.
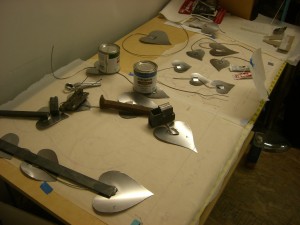
When I decided I did want to attempt some 3d elements, I did tests. I thought spot welding would be the right solution, but it made the wire brittle and easy to snap. So I moved on to JB Weld, even though I felt kind of insecure about using epoxy, having little experience with it.
I attached a metal leaf to the wire I was using with JB Weld, let it set, and then tested to see if I could bust it. I could not! Hurray!
So I spent a day or two cutting more leaves out of steel shim stock, cutting wire to the right lengths, and sticking it all together with JB Weld (I used smaller pieces of sheet metal on the back, to sandwich the wire properly. My tests showed I had to make a sandwich to keep the wire in place.) Then I spray-painted them and drew on the veins with a paint pen.
Then, the evening that I was going to epoxy the leaves o the top of the box, one of the “welds” failed. I was trying to gently bend one of the leaves, so I could get a better connection between the box top, the epoxy, and the leaf, and POP, the leaf came free of the epoxy holding it to the wire.
A friend very kindly spent some time that evening helping me test out some other kinds of epoxy (and Gorilla Glue, borrowed from another Asylum member), but at that point I had an alternate plan in mind. And then it turned out the other epoxies/glue weren’t any better than the JB Weld. Yes, it did take some work to pop metal free of the epoxy, but the fact that it could be done made me fear for the long-term survivability of the box. It’s going to be in public, right? Someone, at some point, isn’t going to be able to resist “testing” it. So: butterflies.
The reason I wasn’t trying to weld or bolt/screw/etc. the leaves to the top is that we were not supposed to put holes in the top surface of the box, because no one wants rain inside their newspaper box! And, well, I don’t know how to weld AND my materials were so thin that welding actually seems . . . ill advised.
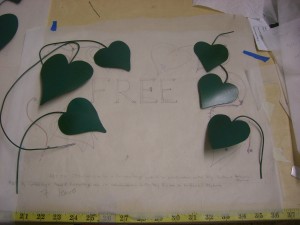
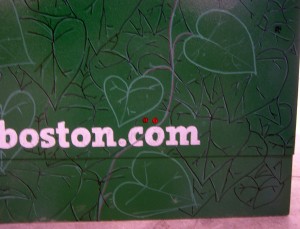
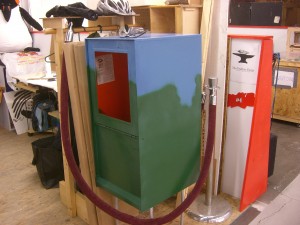
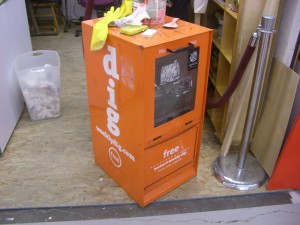
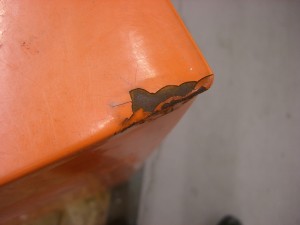
The front panel had holes in it already. In fact, I pulled off an “extra” panel that was originally on the box (and used it to test paints and methods) to use the holes it was attached by, and then discovered there were EVEN MORE holes in that panel than it seemed. So the front set of leaves have wires that go through the holes and are epoxied in place.
I also drilled additional holes through all those leaves so I could tie them to the box with thin wire (painted to match the veins). Mechanical attachments – better than glue! Unless you have REALLY AWESOME glue, which I don’t.
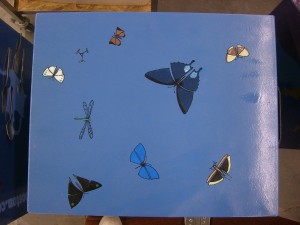
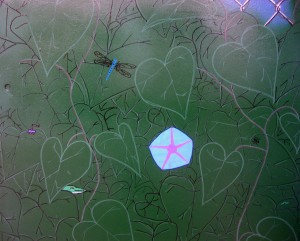
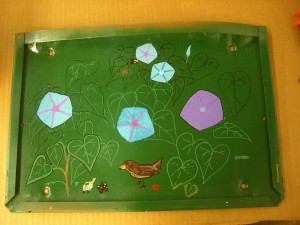
Since my original plan was to wrap several metal vines over the top of the box, I now had to come up with something to do to the top, because leaving it just plain blue was kind of boring. I settled on butterflies. And some other flying creatures. And things.
Ultimately, I’m pretty satisfied with this. The vines draped over the top did look good, but on a conceptual level, they didn’t seem quite right without something to really be wrapped around.
The troubles were not over with the painting of the top, because I still had the varnishing step to go, to give the box some protection from UV.
I had a convenient test panel, which I sprayed with 2 or 3 coats of varnish to see what, if anything, would happen to the various kinds of paint I had applied.
Well, it smelled bad while the varnish was still damp, but otherwise, it worked just fine.
So, a couple coats of varnish in, and I noticed that some of the most recent butterflies were, well, dripping. I wiped one of them off completely (and then drew it back on days later, because it left kind of a hole. Well, I noticed). The others I just left kind of fuzzy.
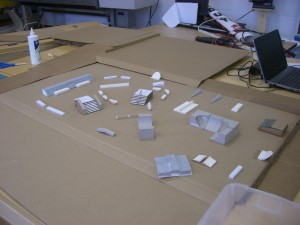
The presentation was over a week ago, and someday soon, the boxes will be removed from the Asylum and placed on the street. Here’s a post on the Asylum’s site about the first round of boxes, with video showing them being put into place on the street. There’s a map here showing the locations.
This was a fun project, and I’m glad of the advice I got from many people, some working on their own boxes.
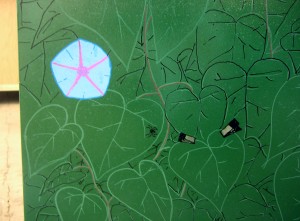
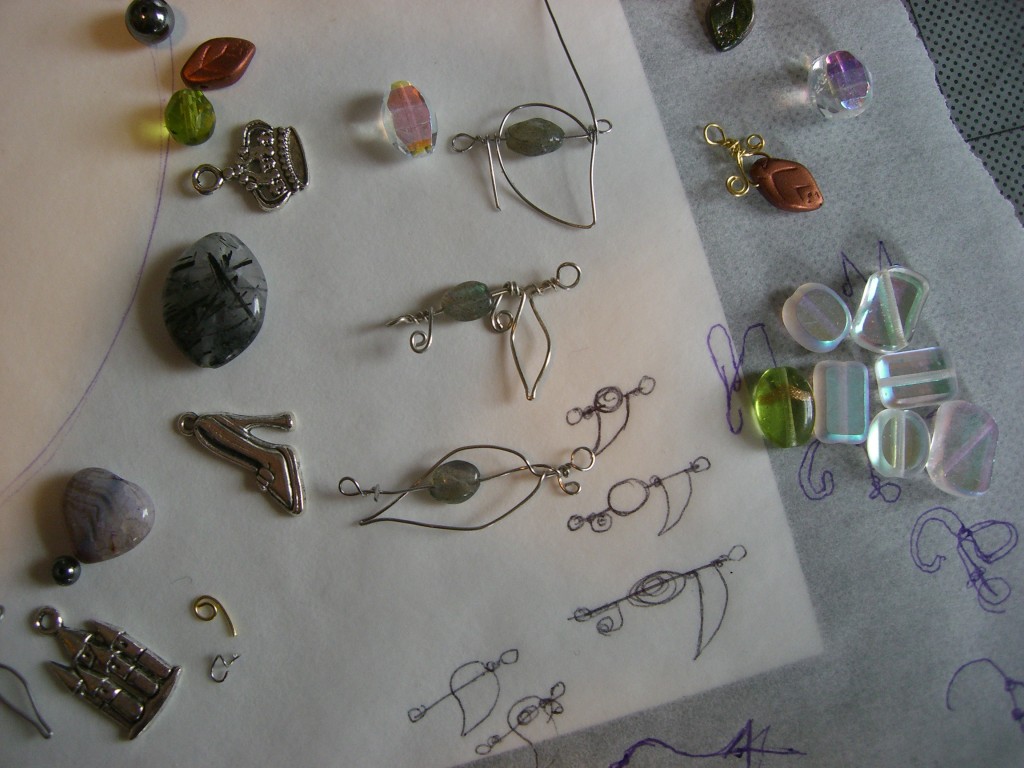
When I had my test panel lying out one day, with some early sketches of the leaves, a couple different people, without prompting, pointed out which style they preferred . . . and it wasn’t what I thought I’d be doing! So I started asking more people for their opinions, and eventually someone said, “It looks like these different blocks of leaves need to all be tied together somehow,” so I played around with that and discovered that by using all three different styles (black outline, green outline, black over green), I got a really great illusion of depth.
More pictures:
I put a lot of little creatures into the design. Many ants, because they were quick and easy and besides if there’s one ant somewhere, there are probably a thousand (though not on the box. It was a vine box, not an ant box).
There are some additional pictures on Flickr, including pictures of other artists’ boxes.

