Upcoming craft fairs & recently completed things

I will be at two holiday craft fairs in the next couple weeks:

December 5, 5:30-8:30pm: Kennedy School Gift Fair (FB event link, sorry, that’s all I got), 2 Cherry St., Somerville. The Kennedy School is an elementary school in Somerville; the event includes a raffle that will benefit the PTA.

December 10, 1:00-7:00pm: Underground Artist & Burner Bazaar 2011 (FB link only, sorry), Redtail Collective, 369 Congress St., Boston. Includes food and music performances, as well as lots of crafts!

I will also be showing some work at the Arisia Art Show in January, and I’ve signed up for a table in the Artist and Author Alley. I don’t know what time slot I will get, but I’ll update that when I know it.

I’ve been making good use of my space and membership at Artisan’s Asylum, and am now almost completely out of ear wires. Oops.

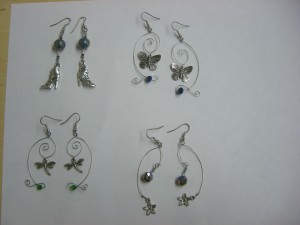
Here are some terrible images of some recent work – click to view much larger (only way to see the colors in some shots):

Stainless steel, glass, and stone.

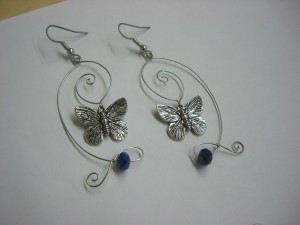
I am quite pleased with how the fairy earrings turned out. I’ve made earrings very similar to that style before, but not exactly; the method I used to hang the charm is new – just a loop in the wire, rotated 90 degrees from the rest of the wire, which means I don’t have to make a separate loop to connect the charm to the rest of the earrings. Saves time and space in the design!

More lousy photography:

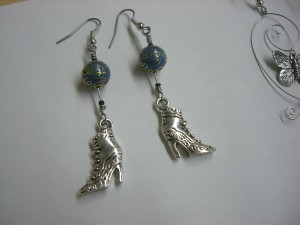
The boot earrings are HEAVY.

Those are some serious charms, those boots! They are fully 3D, and solid. I see many more earrings in the style of the fairies/dragonflies. It works well for a lot of things. And I have a lot of charms, which until now, I’ve struggled to incorporate into my work.

The beads are cloisonne, I think, and are mostly blue.

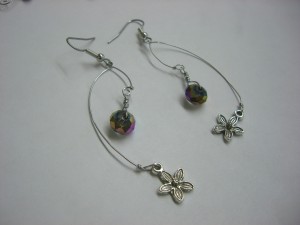
Close up shot to get a better sense of the bead color.

The beads have some great iridescence.

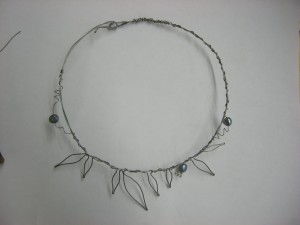
I also made a leaf necklace, using stainless steel wire and cultured pearls, instead of my usual brass and glass leaf beads. It’s harder to get nice leaves with the stainless steel, since it is so much stiffer.

The pearls are greyish purple.

I’ve been naming the brass leaf necklaces “Spring Rites,” but that doesn’t seem appropriate for metals and beads that are the color of the late autumn and winter sky. (Oh! This just occurred to me: I must – MUST – make one like this with the BRIGHT PURPLE pearls, and call it the “Beautyberry” necklace. Though it would be more seasonally correct if the leaves were just bare sticks, to match the one in my yard. Hmm. Whatever. “Artistic license!”)

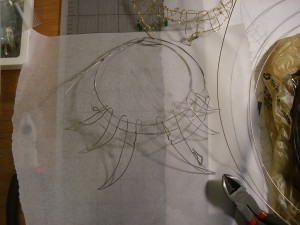
I also spent a couple of hours last night working out a composition for an elaborate collar, along the lines of the Machinist’s Collar, but on a sort of pirate queen theme. AUGH IT WAS HORRIBLE! I spent most of the time feeling completely incompetent and certain it will All End in Tears and Failure, but at the same time I feel compelled to finish. I’ve known enough other artists who have written similar things about their own works to know that this is normal and probably means it will be just fine.

I think this is part of the problem with letting one’s nonverbal mind be involved in the decision making process.

I have a picture, but I’m holding off posting it until I’ve committed to putting it together. Because then there will be no turning back.

Share

Body parts by mail and other fun

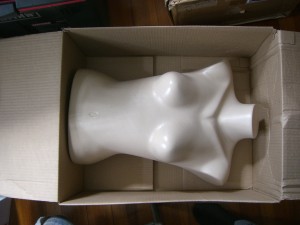
Since most of my necklaces do not lie nice and flat on either a table or a quick-and-easy necklace bust, I decided that the best way to photograph them – and form them, to a certain extent – would be to acquire a mannequin.

Here is my new assistant, who is close enough to my size that I can dress her up with my own clothes (. . . which is more disturbing to think about than I was expecting). I think she needs a layer of decoupage (her actual color is a much more unappealing brownish pink than the photo shows, not to mention the texture of the plastic). And a name.

Plastic female mannequin torso in a cardboard box

Now I know how much of my dismembered carcass would fit in a box. Most of it, is the answer. There's plenty of room in there for arms and legs. (Also note the lack of packing material provided.)

So I’m working on some projects for a literacy fundraiser, which means literary themes (hence TINY BOOKS!), and somehow my original ideas unexpectedly turned into an idea for a mess of beads and charms linked together in a way that I usually don’t work with because making links kinda makes me want to cry or throw everything out the window, but it was such a neat concept that I couldn’t resist. *sigh*

Um.

Anyway.

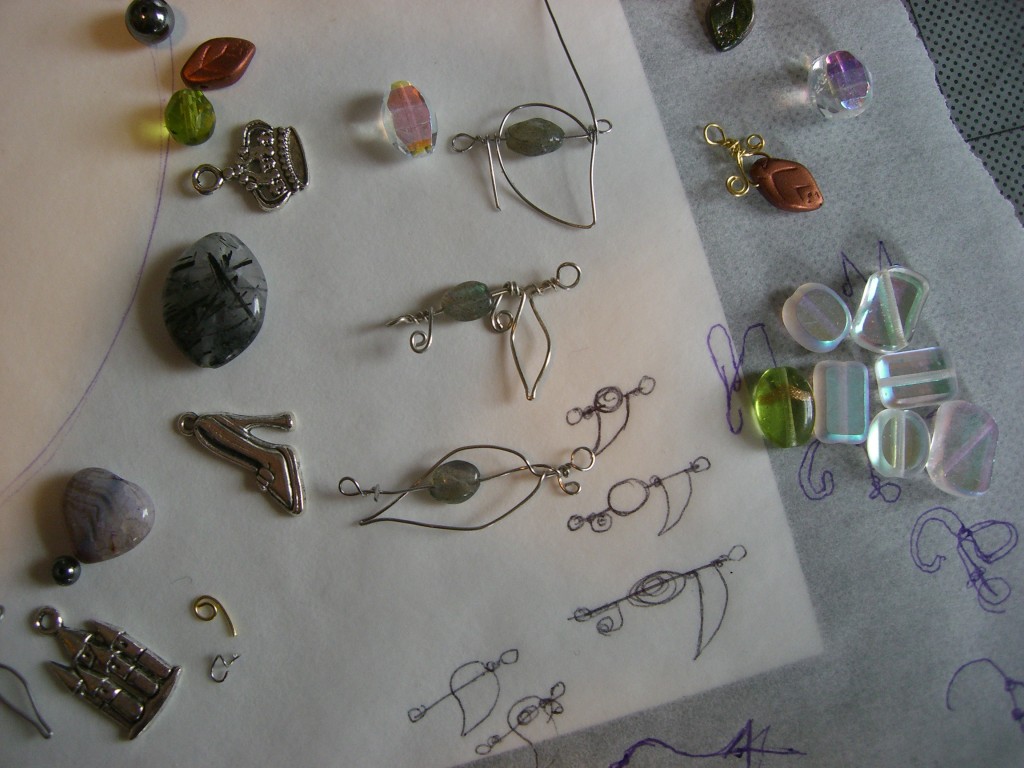
I decided that to make the links less tediously the same (it is contemplating the sameness that fills me with despair and loathing), I would add leaf and tendril elements to some or all of them.

Of course this means I couldn’t just decide that the first way I found to do it – which is a perfectly reasonable way! – was good enough and stick with it, oh no, suddenly I have MANY MORE IDEAS for how to make bead links more interesting while incorporating leafy things. So instead of working on the damn project, I am sketching ideas onto the paper and then compelled to test them out for real.

Because if I don’t, they will bother me until I do.

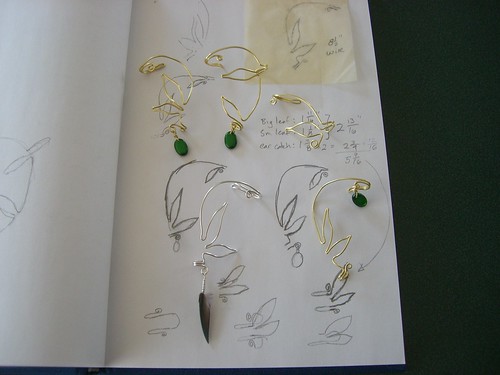
Some sketches and prototypes for ways of linking beads together while making the wire do interesting things. The link in the middle is what I am currently using; the link on the bottom I like a lot but haven't used - yet. The one on the top seemed like a good idea when I sketch it, but I dislike it now. The beads and charms on the left are part of the necklace that is troubling me; the pile on the right consists of potential components.

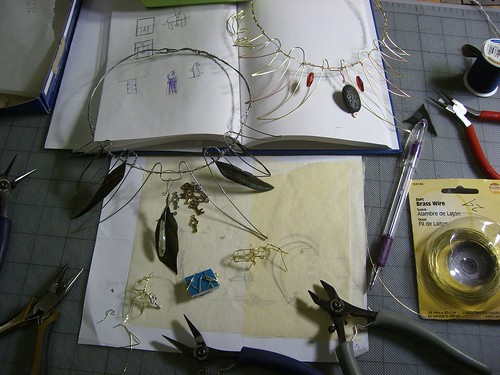
I’ve probably said it before, but the mechanical aspects of making jewelry with wire is at least half the fun. So I may be complaining about feeling forced to experiment when I have something that needs finishing, but it’s like complaining about having to choose between hot fudge and caramel. (Naturally, one puts both on, arranged so that they can be enjoyed separately OR together.)

Speaking of exciting mechanical challenges:

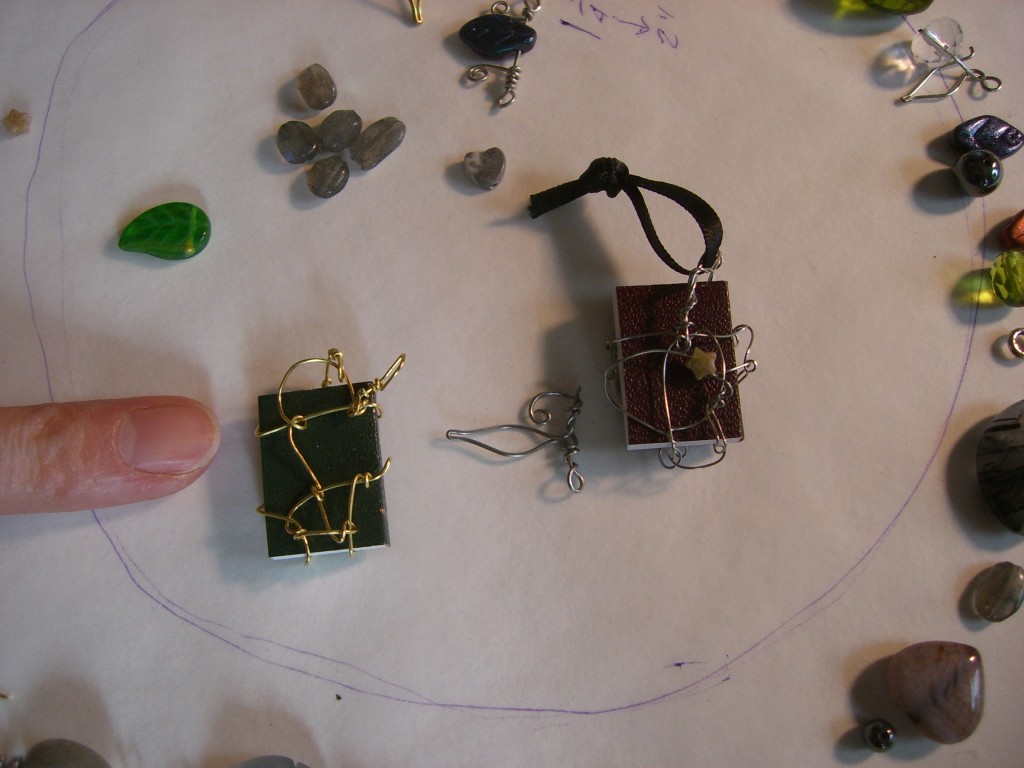
Two TINY BOOKS wrapped in wire, to be used as pendants.

Two TINY BOOKS! Carefully wrapped in wire such that they can be worn as pendants! AND TAKEN OUT OF THEIR TINY CAGES!!

My excitement about these things is inversely proportional to their size.

And also, the ideas for enclosing them! TOO MANY. Or, perhaps, just enough; some of them are clearly awful even on paper. Whatever, there isn’t enough time to give them all a proper tryout.

I have another project in mind that is more of a research project than a physical making-stuff project: there are approximately TOO MANY TOO COUNT different online marketplaces focused on selling handmade stuff, and they all offer slightly different costs and benefits, and I have yet to find any single source that puts them all together so that you can, at a quick glance, compare them.

This is on my to-do list now.

Share

Brass wire can cut itself

This weekend was productive, and I learned several new things.

Like how to wrap wire around tiny books.

And that, if you wrap thin brass wire around more thin brass wire, and then use your pliers to smash the coils flat, and you use enough force, the coils will cut through the wire they are coiled around.

So I will be redoing that piece.

It was only 90% perfect anyway. And I can probably reuse parts of it.

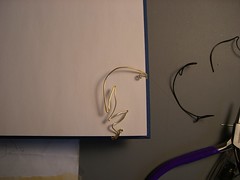
See that bent bit on the right edge? That's not supposed to be nearly cut in two.

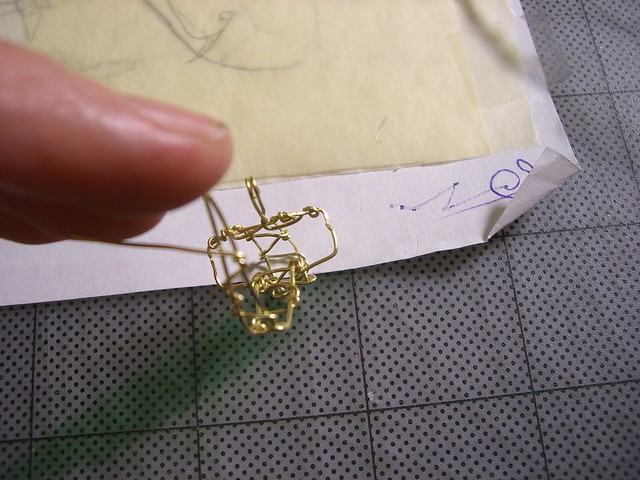
I started making some new displays for earrings and pendants. I still don’t have a good method for the necklaces, but in the process of making the new hanging displays, I ended up with a tiny wire bird, about the right size to be incorporated into wire necklaces, although this particular bird seems quite attached to the display. Oh no, I shall have to make another! Or, perhaps, an entire flock.

Two necklaces and some experiments in wire wrapping tiny books.

Yes, those little messy looking tangles of brass are for the books, and the blue thing is a book, so there’s some scale for you.

The skin on several of my fingers is covered all over with what look like very light cuts. I am pretty sure it is just from using my soft, uncalloused fingers to pull and bend thin brass and stainless steel (there was a lot of that in the display) over and over again. It’s pretty remarkable; my fingertips look like they were on the verge of losing a papercut war. Clearly I need to spend more time at this, and build up tougher skin.

Share

Process and progress

Back in September, I was playing around with a bunch of sea-themed beads. I had this really amazing large mermaid charm/pendant, but I couldn’t quite see her as just a pendant. Or even as just a pendant with a lot of interesting supporting beads and wire around.

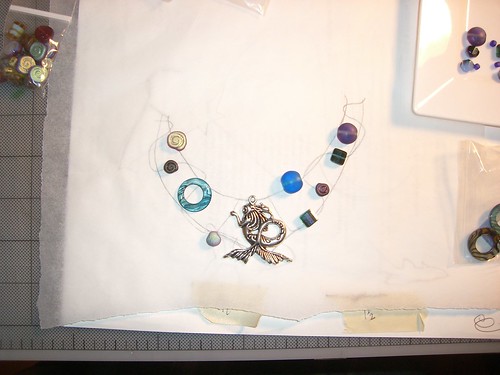
I thought the centerpiece of an elaborate necklace would be nice, so I did a crude sketch and laid out some beads in a way that seemed reasonable:

A large metal mermaid charm with some beads arranged on a sketch of a necklace design.

This is more or less how I design necklaces: sketch out what I think the structure will be, put beads down on it, then photograph.

I didn’t quite feel like making it then. Or maybe I was really busy. Or both. But periodically I remembered (like when I was pawing through beads, and be reminded there was this piece lurking, completely unfinished), and I’d want to get back to it.

Well, what with Arisia coming up, I have suddenly felt spurred to action!

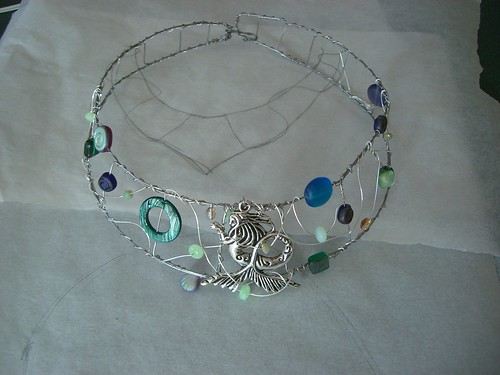
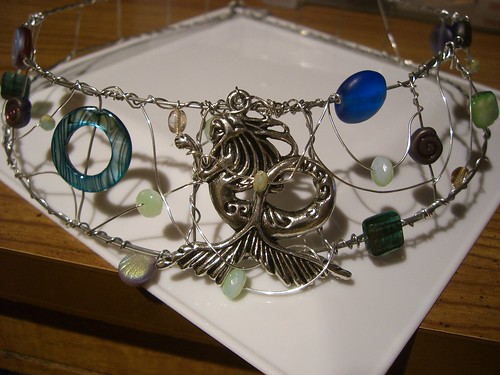
Tragically, I took no more in-process photos, but here is the completed piece:

Completed collar. Necklace. Whatever.

The structure is, as usual, stainless steel, in three different gauges. The swoopy, wave-like wires are sterling silver. HOLY COW, is silver wire easy to bend! After spending quite some time forcing the stainless steel (and it is a soft temper steel!) to do what I wanted, the sterling felt like putty. Wow. So nice.

Components are: big metal mermaid charm/pendant, lots of different glass beads, and a couple of pieces of dyed shell. The circle that the mermaid is facing is dyed shell, and there’s a chunky green rectangular bead on the other side that is also shell.

I put one of the pale green beads behind her head to make her face stand out a little more.

This was the most painful piece I’ve done. I am used to my finger pads feeling tender after bending a lot of stainless steel, and I occasionally wind up with minor stab and scratch wounds from unfiled wire ends. But working on it last night, I managed an impressive puncture wound as well as an embarrassing incident with the flush cut pliers. (Embarrassing because seriously, it isn’t that hard to keep the soft bits away from the sharp parts of tools!)

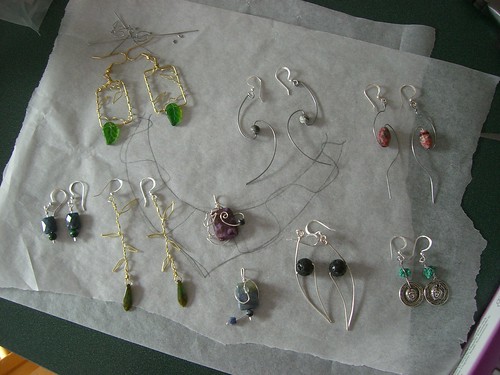
In other news, I made a bunch of earrings, and a couple more pendants. I am liking this productivity!

THe usual sorts of things: brass wire, sterling silver wire, stainless steel; glass and stone beads.

Still to do for Arisia: title all of these things. And the other things. And submit all that plus size info and pricing. And work out table layout; I think I am NOT going to use slabs of rock this time, because it is heavy to carry around! And I do not have enough slabs for every necklace anyway.

I do have a chunk of a tree branch. Maybe I can hang things off that.

Share

Progress towards Arisia

So I have a table in the Arisia art show, and not enough work to fill it. I’ve made some progress towards that in recent weeks; the previous post showed a couple of necklaces in the Spring Rites series, which will be in the show.

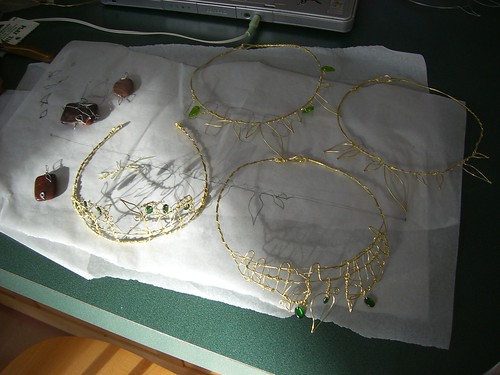
Anyway, this week, my office was closed for the holidays, so I’ve made some more things! Pendants, even. And another (slightly different) version of my original Spring Rites necklace.

The tiara is entirely new this week.

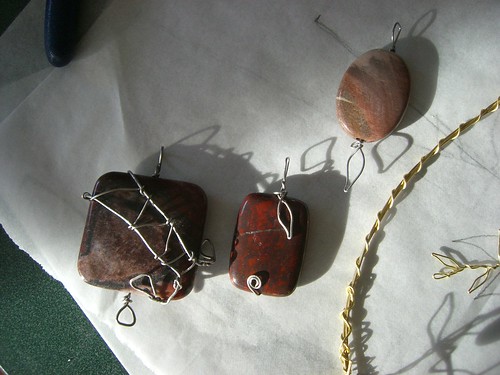
Wire-wrapped pendants. The pinkish-grey oval is imperial jasper. No clue about the other stones!

The wire on the pendants is all stainless steel, but I am feeling like I am finally ready to see how the sterling silver I have on hand goes.

I’m also not wild about the jasper pendant. It’s a nice enough stone that it really doesn’t need any special treatment or accent. Also I hate that with the addition of the leaf on the bottom, it’s just a long piece.  Maybe I should bend the leaf up so it wraps around the bottom; I don’t know.

I think one of my biggest problems going forward is going to be naming things. I have a HUGE list of names for Spring Rites items, and selecting from that is going to be its own painful process. Coming up with names for random pendants, though, beyond “Stone Pendant 24,” argh.

And yes, it has crossed my mind to just go find a random name generator and use that! Random drow elf names, random Martian names, whatever.

Share

Contests! Jewelry and hackerspace craziness

A friend pointed me in the direction of a contest being held by Happy Mango Beads, with a “Trash to Treasure” theme.

I spent about 5? or 6? hours working on my entry, and I am delighted to announce that my entry was one of the alternate winners! Which means: FREE BEAD MONEYS. Also: fame and notoriety.

Maybe not.

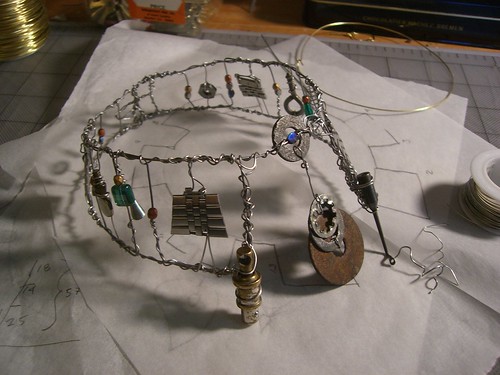
Anyway, here it is, the Machinist’s Collar:

Collar made from stainless steel wire, glass beads, and found objects

"When I aimed my flashlight toward the back of the machine shop, an unexpected blue glint caught my eye. I was not expecting to find this: a collar made from stainless steel wire, woven into a framework for broken watch bands, rusted washers, and other metal objects I could not identify, accented with glass beads. Was this completed by a bored machinist, waiting for a necessary part to arrive? The result of finally emptying the jar labeled “Shiny! or might be useful some day”? Or a symbol of office, abandoned when the shop closed? Perhaps the number of washers hung from the front indicated levels of seniority. I may never know; I visited only days before the wrecking ball arrived."

I raided my collection of random metal objects for this. I knew they’d come in handy someday! VINDICATION!!

The collar turned out to be taller than I originally planned, and for a while I felt pretty bummed out that it was not matching my original concept. It was going to be terrible! And then it started to come together, and I am more pleased with the result than I was with my original concept.

Also: check out the photos of all the entries on Facebook – there are a lot of really gorgeous entries. I think this necklace is my favorite.

On to something less wearable:

Back in August, Artisan’s Asylum had the opportunity to participate in a hackerspace competition. We had 3 weeks to complete a project. Which would be videotaped. The process and the final result. For the purpose of being shown on VIMBY.

The first hour of the show is up, which introduces the competition and very briefly introduces the 5 groups participating. We will get our very own hour in an upcoming week.

Much like the project itself, this both terrifies and excites me.

Share

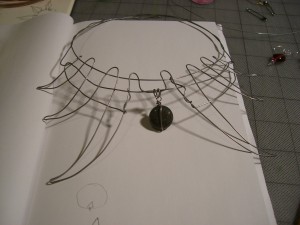
Stainless steel wire necklace, finished

I finished the ends of this off over a week ago, and wore it a couple of times, because I couldn’t quite figure out what else, if anything, needed to be done with it. Also, I wanted to display it at the Bazaar Bizarre, which reminds me I have a draft post about that I need to publish. Oops.

Anyway, I figured out what needed to be added, and here is a not very good picture of it:

Stainless steel wire necklace with jasper pendant

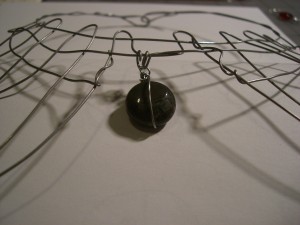
The stone is jasper. I think.

Round jasper stone

Close up of the jasper (?)

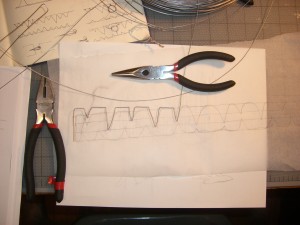
(Additional pictures on Flickr.) I wanted to move on to a new project more than I wanted to take more/better pictures. The new project is going somewhat slowly; I’m having some difficulty weaving the horizontal wires through the vertical pieces. I may have to rethink my strategy; it’s much more difficult than the necklace above.

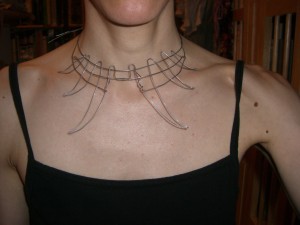
Some early bends of a wire choker/collar in progress

Some early bends for a wire choker/collar

We shall see how this goes.

Share

Stainless steel wire necklace (in progress)

I finally felt caught up enough on stuff, and also too tired to do much else, to clean off my desk yesterday.

Seeing all that surface again kind of felt like gazing into the abyss. If, you know, you knew the abyss might possible have cake in there somewhere.

This evening I sat down and worked on another necklace, which I sketched up, er, some weeks ago. It’s not done; I need to add thinner wire to strengthen it a bit and add detail.

Stainless steel wire necklace

Originally, I was going to add some sort of dangly thing – like a biohazard symbol or something – in the middle, like I did with the brass necklace I made previously, but now I’m reconsidering. It might not actually need anything there, and I quite like it as-is.

Also, I have decided that from now on, I will say “I’m going to spend some time in the abyss” whenever I am retreating to my desk.

Share

Long overdue post full of ear cuffs

I seem to have a bit of breathing space, so I am catching up. ZOMG TWO POSTS IN ONE DAY.

So.

Have some ear cuff photos!

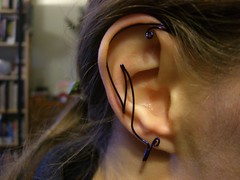
Wire earcuff

Love the simple shape. Need to redo this to fit right.

Brass feather/leaf ear cuff

It all started so simply.

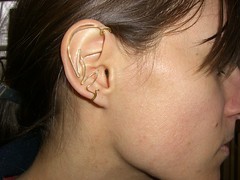
Wearing the leaf/feather ear cuff
And it fit!
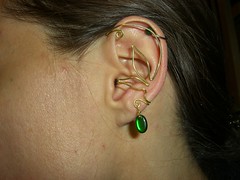
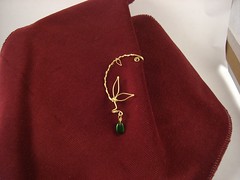
Ear cuff with green bead

Then there was a variation. With a bead.

Several feather/leaf ear cuffs, all slightly different

And then there were more. (These are just some of the non-rejects.)

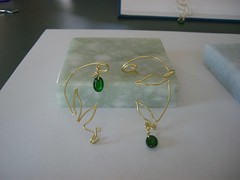
Ear cuffs in a row. Silver with feather; brass with beads (and without).

Ear cuffs in a row. Silver with feather; brass with beads (and without

A pair of brass feather/leaf ear cuffs

A favorite pair.

Ear cuff with thinner wire wrapped around it, making a vining look.

Adding some thin wire wrapped around the main frame added some additional viney leafy bits.

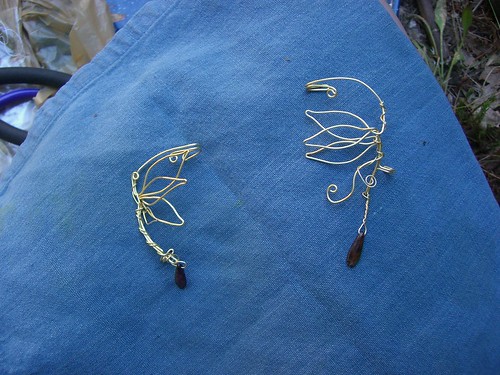
Ear cuffs with multiple, layered leaf shapes

A friend suggested wrapping some excess wire back up the shape, and creating layered leaves. Needs a little refining (I dislike the indentation along the edge), but I really like the layered look.

With bonus not-ear cuff wire work:

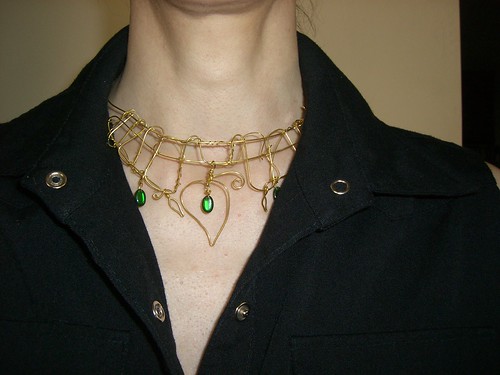
Wire necklace made from "weaving" wire together.

This was inspired by the wire mesh I made for the sink, as well as Elise Matheson's fabulous necklace-crowns.

WordPress hates when I try to put links in captions, apparently, so let’s try that again: here is Elise’s blog (go find “new shinies” and “shiny sale” posts for jewelry goodness); here are photos of a necklace-crown.

Share